First-time setup
Complete the initial HelpGent settings after activation so your forms can be published and visitors have a page for viewing their conversations.
Before you start
- HelpGent is installed and active.
- You are signed in as a WordPress administrator.
- HelpGent Pro is active if you plan to use Pro-only services such as supported cloud storage.
Set the visitor dashboard page
- Go to HelpGent → Global Settings.
- Open the General settings.
- In User dashboard page, select the WordPress page visitors should use to view their conversations.
- Select Save Settings.
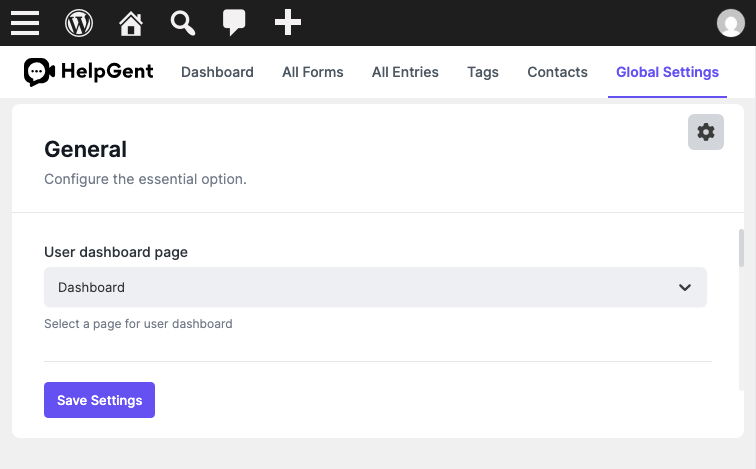
HelpGent normally creates a published page titled Dashboard with the visitor dashboard shortcode during activation. If you select a different page, make sure that page contains the HelpGent dashboard shortcode and is published.
Configure optional services
Only configure a service when one of your forms needs it:
- Google reCAPTCHA for spam protection.
- Google Maps for location fields.
- Email and notifications for administrator or visitor messages.
- Cloud storage for supported Pro media-storage connections.
Third-party services may require their own account, keys, or usage settings. Save one service at a time so you can identify which setting affects your form.
Verify the setup
- HelpGent → Dashboard opens successfully.
- The User dashboard page setting remains selected after you reload the page.
- The All Forms screen is available.
Next, learn the HelpGent dashboard or create your first form.