Create and Use Tags
Tags help you group responses and contacts by a useful business label, such as sales follow-up, technical support, or priority. Before you start Sign in with permission to…
Tags help you group responses and contacts by a useful business label, such as sales follow-up, technical support, or priority.
Before you start
- Sign in with permission to manage HelpGent.
- Decide on a small set of labels that your team can apply consistently.
Create a tag
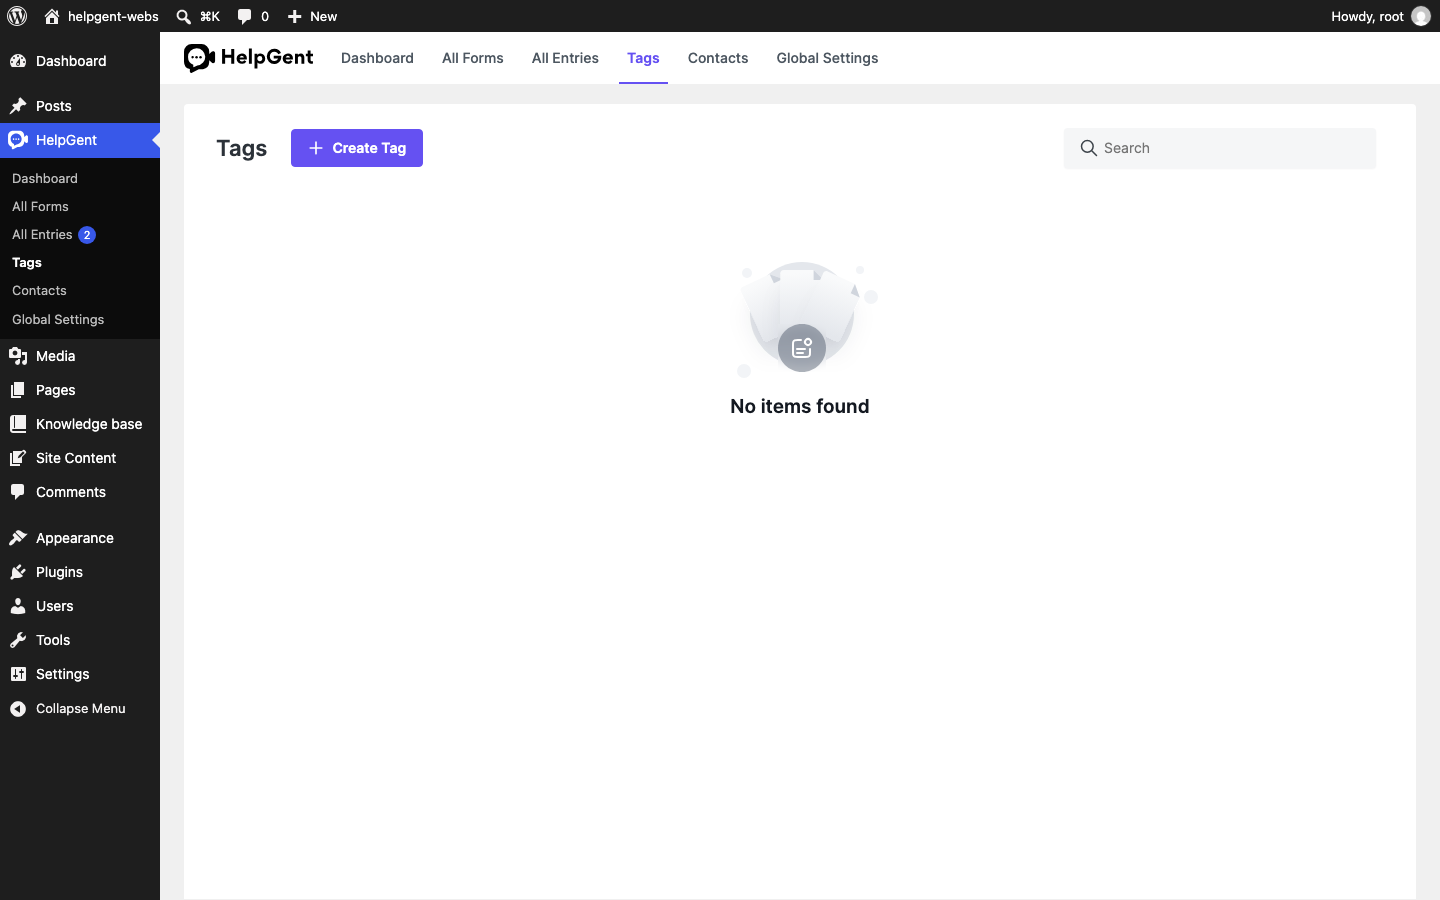
- Go to HelpGent → Tags.
- Select Create Tag.
- Enter the tag name, choose a color, and select a form in the required Assign to a Form field.
- Select Create Tag.
- Use the search field to confirm that the tag appears in the list.
Apply a tag to a response
- Open HelpGent → All Entries.
- Open the response you want to organize.
- Select Add Tag.
- Choose the tag suggestion.
- Press Enter or select the checkmark to apply the tag. Choosing a suggestion alone only fills the input.
Use the same tag names across your team. For example, use Needs reply for work that still needs a response and Qualified for a lead that is ready for sales follow-up.
Verify the result
- The tag is visible in Tags.
- The response shows the tag after you commit it with Enter or the checkmark.
- Searching the Tags screen returns the expected label.