Control Form Access and Visibility
HelpGent uses the form status and sharing settings to control when visitors can reach a form and where a floating form appears. Use these controls to keep a form in preparation, make it public, or limit a chat bubble to selected pages.
Manage the form status
- Go to HelpGent → All Forms.
- Find the form in the list.
- Use the switch in the Status column to change the form between draft and published states, or open the form and select Publish from the builder.
- Wait for the status to save before sharing the form.
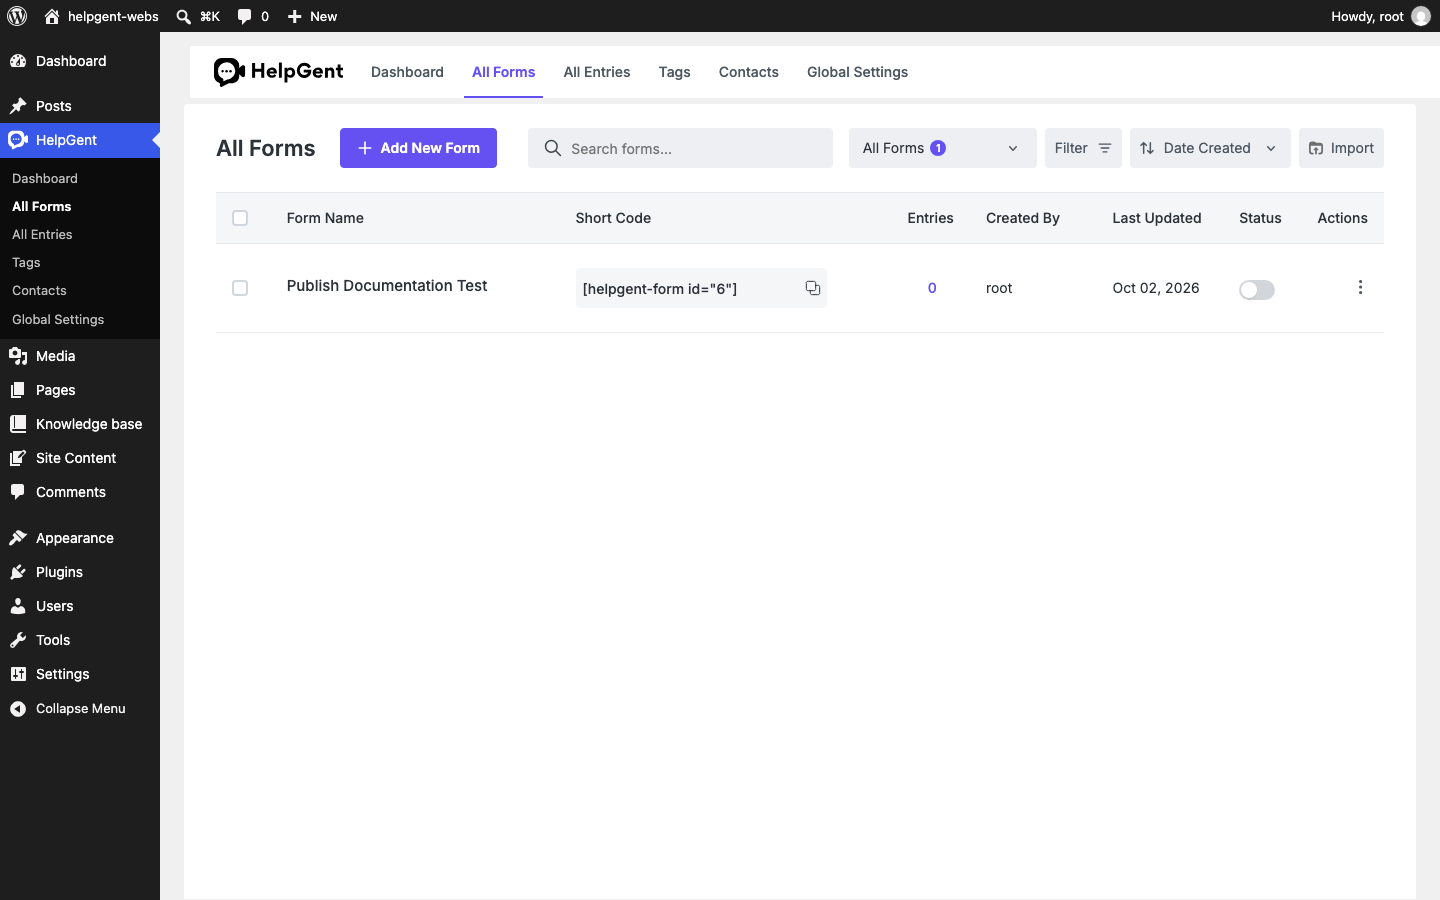
A published form can be opened through its direct link, embedded with its shortcode, or displayed as a chat bubble. Keep a form in draft while you are preparing its content and publish it when visitors should be able to use it.
Control floating-form visibility
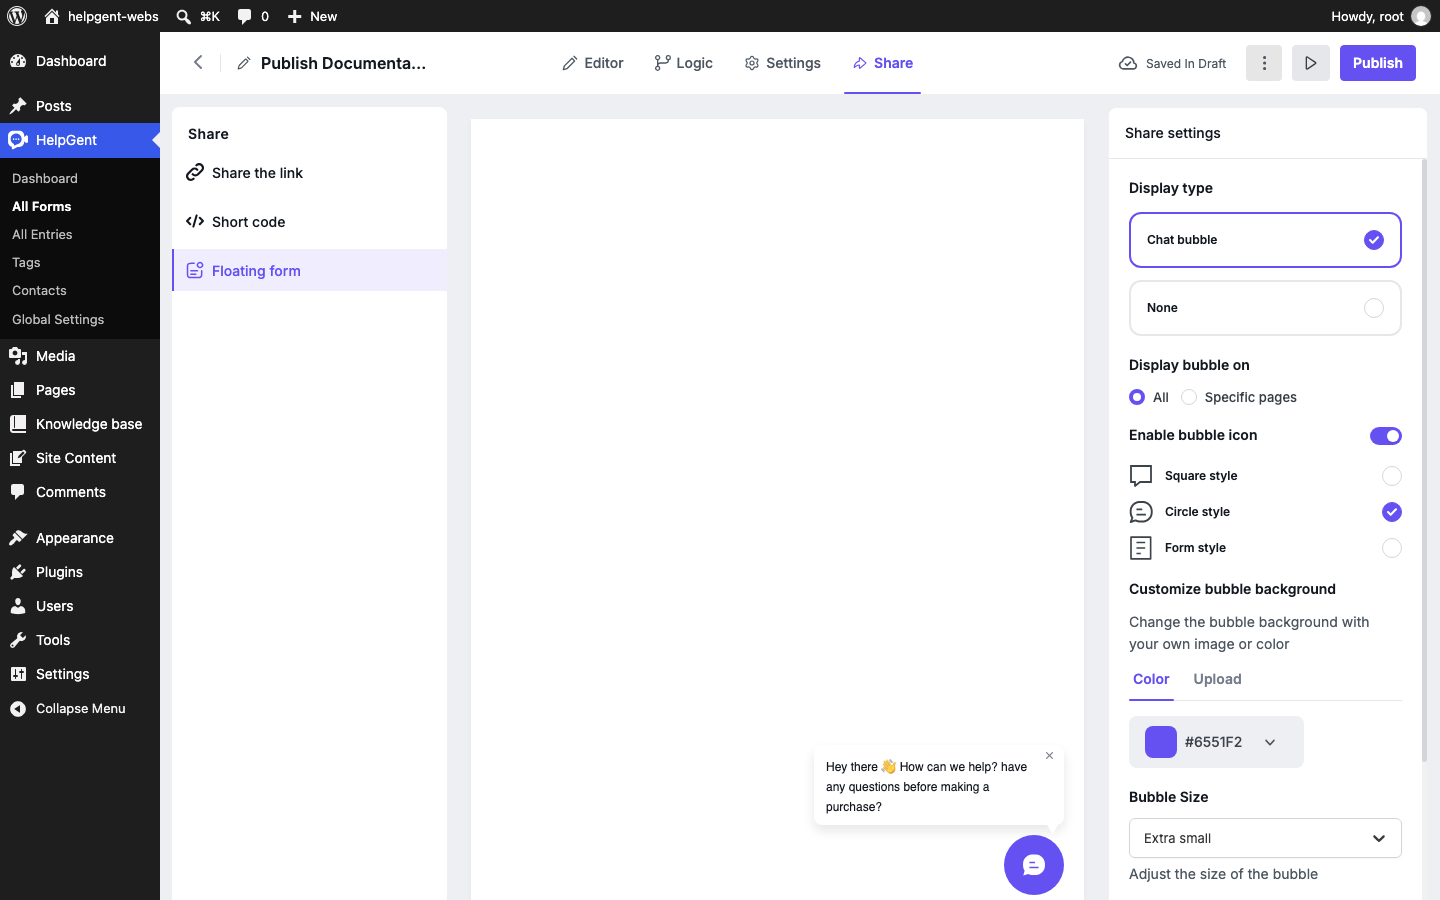
- Open the form and select Share → Floating form.
- Under Display bubble on, select All or Specific pages.
- If you choose Specific pages, select the WordPress pages where the bubble should appear.
- Select Publish to apply the visibility settings to the public form.
Use the available sharing surfaces
| Surface | Visibility control |
|---|---|
| WordPress page or post | The page or post contains the HelpGent shortcode and follows that content’s visibility. |
| Direct link | Visitors use the public route generated for the published form. |
| Chat bubble | The Floating form settings determine whether it appears on all pages or selected pages. |
| Builder preview | The preview is available from the HelpGent editor for administrators. |
Verify the access settings
- Check the form status in All Forms.
- Open the direct link while logged out.
- Open the WordPress page containing the shortcode.
- Visit a selected and an unselected page to confirm the chat bubble placement.
For the complete sharing workflow, see Use Shortcodes and Direct Links and Configure the Chat Bubble.